How do I prevent my 3D print from warping?
From time to time our help desk is confronted with the question of how to prevent 3d prints from warping. Especially with ABS filament, but also with less common materials like nylon, the material tends to warp during printing. This leads to broken 3d prints and sometimes even to a ‘hard hit’: the printer head bumps against the curled up material. Read here why 3d prints warp and how to prevent it!

Why does a 3D print warp?
A print deforms because the material shrinks as it cools. How much the product shrinks depends on the shrinkage factor of the material. Because the print bed is nice and warm, the material will shrink the least at the bottom. The higher up the product goes, the more it shrinks. This difference causes tension in the material and ultimately a warped model. Warping can occur in the product in two ways. First, there is de-lamination. This is when two layers in the model split and a crack appears. This is usually caused by the layers not sticking together properly. If you use the right settings, de-lamination should not occur. The second variation is warping at the bottom of the product. This is a more persistent problem, but fortunately there are a few methods to prevent it.
Place a raft
When you use a raft, a few layers with little infill will be placed under your product. This causes less differences in shrinkage and less tension at the bottom of the product. And when warping does occur, this mostly effects the raft instead of your product. Therefore, it’s important that the raft is bigger than your product, to make sure that it will not cause problems when the corners curl up.

Regulate the temprature
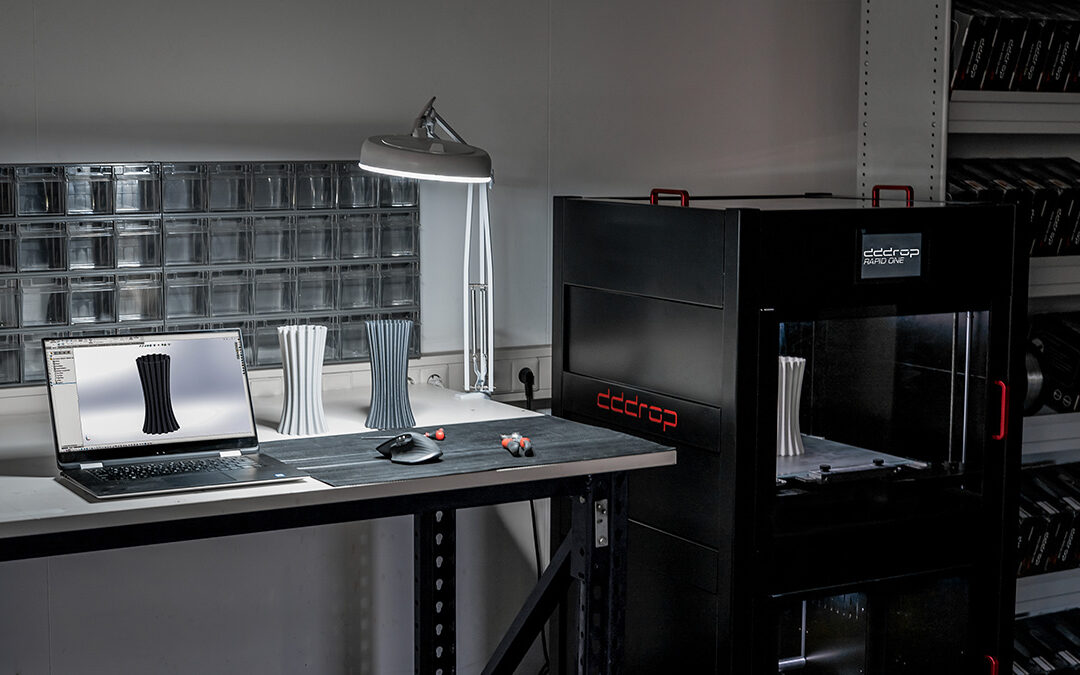
Temperature control is very important in preventing warping. Choose a printer where the product will cool as gradually as possible. A conditioned, sealed enclosure is essential. That way you have control over the temperature inside the printer to minimize the difference in shrinkage. Our Rapid One has an enclosed print booth with fans in the back wall and optional HEPA filters. Perfect for maintaining the perfect temperature and preventing warping.
Gluing your 3D print to the print bed
In warping, two forces face each other: the tensile force of the shrinking top layers versus the tensile force of the print bed. Simply put, if the bottom is firmly glued to the print bed, it will not warp easily. There are a few tools you can use to secure the model to the bed. One common method is to use a slurry that acts like an adhesive. You can make this slurry yourself with acetone and ABS, but be careful! If you use too much of this glue, you can no longer (easily) remove the product from the print bed. Result: broken glass plates. A safer option is to use specialized tools like PEI sheets. These hold your print firmly to prevent warping, but the model is still easy to remove after printing.
")

 (600x400)")