3D printing is a remarkable technology that brings ideas to life, layer by layer, creating objects right before our eyes. However, like any technology, it comes with its challenges. One such challenge that many enthusiasts and professionals encounter is 3D printing clogging. This issue can halt production, leading to wasted time, resources, and, of course, the frustration of having to troubleshoot and fix the problem. In this guide, we delve into the common causes of 3D printing clogging, how to prevent it, and what to do if your printer nozzle becomes clogged. Join us on this journey to ensure a smoother 3D printing experience.
Common Causes of Clogging
Understanding what leads to 3D printing clogging is the first step towards finding a lasting solution. Here are some prevalent causes:
- Filament Quality: Low-quality or contaminated filament can introduce foreign particles into the nozzle, causing clogs.
- Nozzle Alignment: Misaligned nozzles can scrape against the print, accumulating material that eventually leads to clogging.
- Temperature Settings: Inadequate temperature settings can either cause the filament to burn and stick to the nozzle or not melt sufficiently to flow smoothly.
In the next section, we will explore preventive measures to keep your 3D printing operations running clog-free.
Preventing Clogs
Prevention is better than cure, especially in the realm of 3D printing. Here are some proactive steps to combat 3D printing clogging:
- Regular Maintenance: Regular cleaning and inspection of your nozzle will help catch potential issues before they escalate.
- Choose the Right Filament: Opt for high-quality, contaminant-free filaments that are suited for your printer’s specifications.
- Proper Settings: Ensure your printer’s temperature and speed settings are optimized for the material you are using to prevent overheating or underheating, which could lead to clogs.
Unclogging Your 3D Printer
At some point, you might encounter 3D printing clogging despite your preventive measures. When this occurs, it’s crucial to address the clog efficiently to resume your printing projects. Here’s a step-by-step guide to unclogging your 3D printer:
- Identify the Clog: Determine the extent and location of the clog.
- Heat the Nozzle: Warm up the nozzle to loosen the clogged material.
- Manual Cleaning: Use a cleaning filament or a fine needle to remove the clog gently.
- Cold Pull Technique: Employ the cold pull technique to eliminate any residue.
- Check and Realign: After unclogging, check the alignment and ensure that the filament path is clear before resuming printing.
By following these steps, you can resolve 3D printing clogging and get back to bringing your creations to life.
Understanding the Cold Pull Technique
The Cold Pull Technique is a proven method to clear away residue from your nozzle’s interior. Initially, heat the nozzle to a temperature suitable for your filament type, then cool it down slightly below its normal printing temperature. Insert the filament and allow it to cool further. Once cooled, pull the filament out with a swift, steady motion. The idea is that the filament adheres to any residue within the nozzle, and pulls it out when removed. This technique is highly effective in preventing and resolving 3D printing clogging, ensuring a clean nozzle for a smooth printing experience.
The Right Tools for the Job
Having the right tools at your disposal can significantly ease the process of maintaining a clog-free 3D printer. Here are some recommended tools and accessories:
- Cleaning Filaments: Special filaments designed to clean the nozzle from the inside.
- Nozzle Needles: Fine needles can help dislodge clogs from the nozzle.
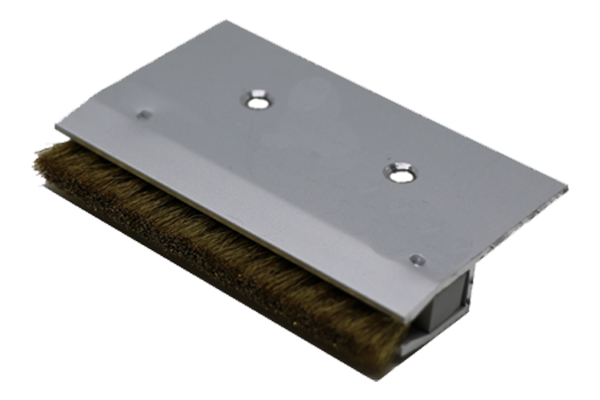
- Nozzle Brushes: These can be used to clean the exterior of the nozzle.
- Quality Filament: Invest in high-quality filament to reduce the chances of 3D printing clogging.
- Temperature Gun: A handy tool to ensure your printer reaches the correct temperature.
Equipped with these tools, you’ll be better prepared to prevent and address clogging issues, promoting a seamless 3D printing experience.

Material-Specific Guidelines
Different materials have distinct characteristics that can affect how they flow through the nozzle, potentially leading to 3D printing clogging. Here are some guidelines:
- PLA: Ensure proper cooling as PLA can become sticky when overheated.
- ABS: Maintain a consistent high temperature to prevent the material from hardening and clogging the nozzle.
- PETG: Clean the nozzle regularly as PETG can leave residues that harden over time.
- TPU: Print at a slower speed to prevent this flexible material from jamming.
Adhering to material-specific guidelines can significantly reduce the likelihood of encountering clogs while working with various filaments.
Conclusion
Navigating through the realm of 3D printing comes with its fair share of challenges, with clogging being a notable one. However, with a keen understanding of common clogging causes, preventive measures, and effective unclogging techniques, you can significantly minimize downtime caused by 3D printing clogging. Equipped with the right tools and knowledge, you’re now ready to tackle any clogging issues head-on and enjoy a smoother, more productive 3D printing experience. Remember, regular maintenance and adherence to material-specific guidelines are your allies in maintaining a clog-free printing journey.
FAQ
Why does my 3D print keep clogging?
Your 3D print may keep clogging due to impurities in the filament, misalignment of the nozzle, or inadequate cleaning practices. These factors may obstruct the filament’s smooth passage, leading to consistent clogs.
What to do if your 3D printer is clogged?
If your 3D printer is clogged, disassemble and clean the nozzle thoroughly using a cleaning filament or solvent. You can also heat the nozzle to remove any residual filament.
How do I stop my nozzle from clogging?
To prevent your nozzle from clogging, ensure you use high-quality, clean filament and maintain proper alignment of the printer parts. Regular cleaning and periodic maintenance checks can also help in preventing clogs.
Why does my extruder keep clogging mid print?
Your extruder may clog mid-print due to temperature fluctuations, incorrect printer settings, or the use of incompatible filament material. It’s essential to monitor the printing process and adjust settings accordingly.
How often should you clean 3D printer nozzle?
It’s advisable to clean your 3D printer nozzle after every 10 hours of printing. However, the frequency may increase if you use materials prone to causing clogs or if you observe a decline in print quality.
Why is my 3D printer nozzle jamming?
Your 3D printer nozzle may jam due to incorrect temperature settings, a worn-out nozzle, or the use of improper filament material. Replacing or upgrading the nozzle and using the recommended filament and settings can alleviate jamming issues.


